Sunday, 30 November 2014

Wall Art: Fish/Fossil Plaques.


I remember reading a short article on a guy who had been selling fossils and precious gems in a gallery in London, and all the far flung places around the world he had recovered them from before trying to ship them back to the UK. They had a couple of images of pieces he had for sale that were made up of huge slabs of rock with fossils and ancient plant life embedded within it, in some cases partially exposed and jutting out of the stone. That was the first discovery that really inspired me to create some art work based on bizarre creatures that were embedded in something equally as interesting and detailed as the animals themselves.

I made a note of it and kept the article to remind myself. After developing my first batch of fish I remembered what I had read about and wondered how I could develop pieces inspired by fossils. At this point I had been working with the off cuts of my stencils to develop a second piece of art out of one and began playing around with surface textures and the kind of details I could develop and paint to create something striking from a distance, but highly detailed under closer scrutiny.


I began working on a smaller Anglerfish piece in the same style I had done before. The image above shows the three main sections of the piece cut from a single sheet of mount board with a scalpel. The stencil, the pieces removed from the inside and the outline block.


Using the stencil as a guide I reassembled the pieces on a second sheet of mount board, shown above. My next step was to build up a textured surface on which to drybrush. The last pic above shows the stencil lined up on top of the plaque. The next stage was to build up a rough and textured surface with wood adhesive followed by acrylic paint. This made the card much stronger and helped create a surface the drybrushing effect would work well with.


I then framed and boxed up the piece similar to the Fangtooth before it and moved on to my next design. I started with a pretty simple sketch, at this stage I was drawing lots of different and hadn't really settled on which to do next. I moved on from the fish and developed the Pteranodon piece based on the sketch below.


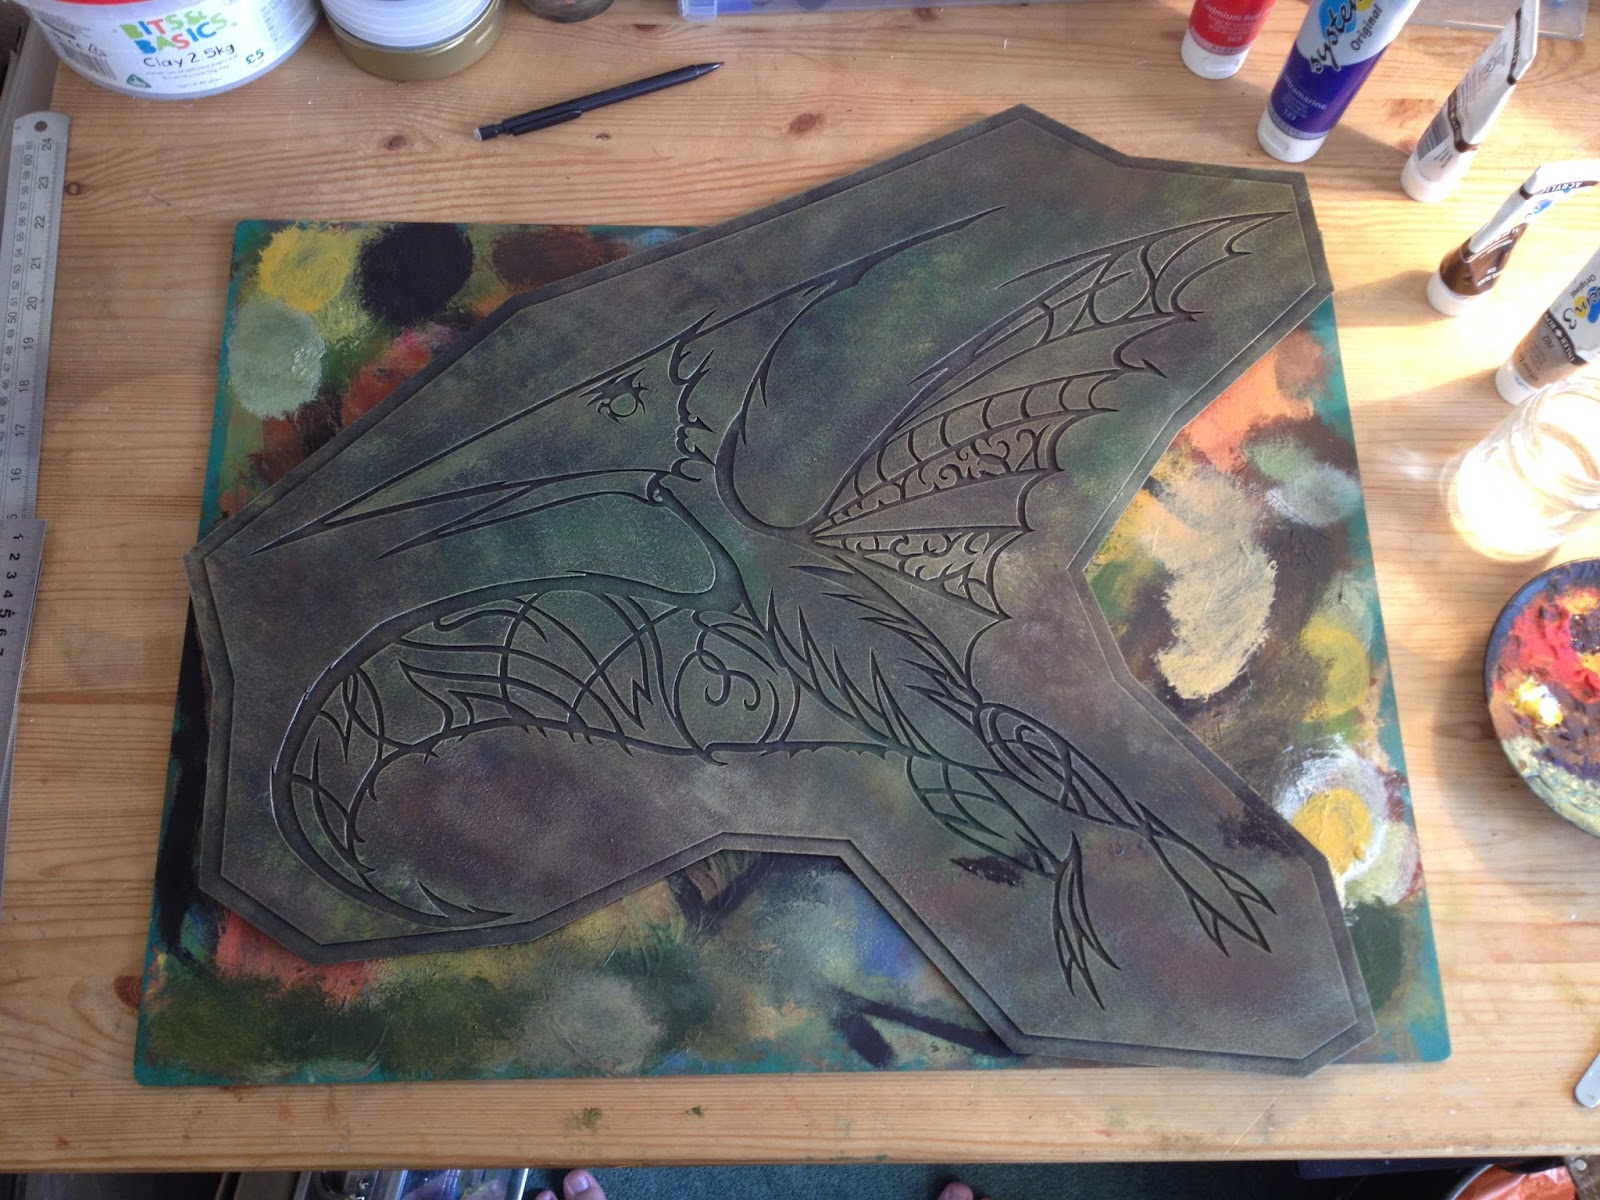
I drew up a design onto mount board from the initial sketch I had done. As this was a larger and more complicated design from what I'd done so far I copied the design onto tracing paper before cutting it out. This meant I could line up the pieces and keep them in the same position whilst I cut them from the card, as you can see below.


For the Pteranodon I wanted a more engineered and man-made look to the design. Something that had a feel of organic, biological structure to it but in a more stylised and constructed way. The head for example I imagined as separate pieces of sheet metal ornately finished, almost like a venetian mask.


I also decided to develop a smaller Fangtooth piece, much like I had with the Anglerfish. I took my original design and scaled it down with simplifying the detail too much.


The final piece I made in my first batch of plaques was by far the most complicated. I designed a squid which was then cut in one piece from a single sheet of mount board as you can see below.


Above you can see the stencil I cut in one piece, below is the finished plaque. For the colours I wanted the blue and green tones to merge seemlessly and give that impression of mirky yet colourful water. The flashes of gold I wanted to represent the rays of light shining through the water but also hint at the colour of the squid itself as the light reflected off its translucent flesh.


With my first batch done I had started to get an idea of how the materials worked together. The wooden frame had prevent the piece from warping and created a rigid, strong structure but had increased the overall weight a fair bit, which I would explore in my next batch.

Below is the finished first batch together.


Friday, 31 October 2014

Metal Fish - Part 2

After my first batch of three dimensional fish I decided to start working on pieces that could be hung on walls, taking up less space whilst still using the same techniques I had experimented with. I worked on two new designs based on marine animals, an Angler fish and Fangtooth fish as they both had quite strong and recognizable designs that I felt would work well with my style of art.

The Anglerfish.


I began by drawing out and cutting a simple frame which I would hen build the 3D surface of the fish off of. This had a similar style and shape to what would be built on top of it but was kept simple and formed more of a structural rigidness to the piece.

My next step was to begin build the 3D half of the fish up from the flat outline. This took a little more thought as I had to gauge how high up to build the shape of the fish as to make it accurate to the shape of the animal.


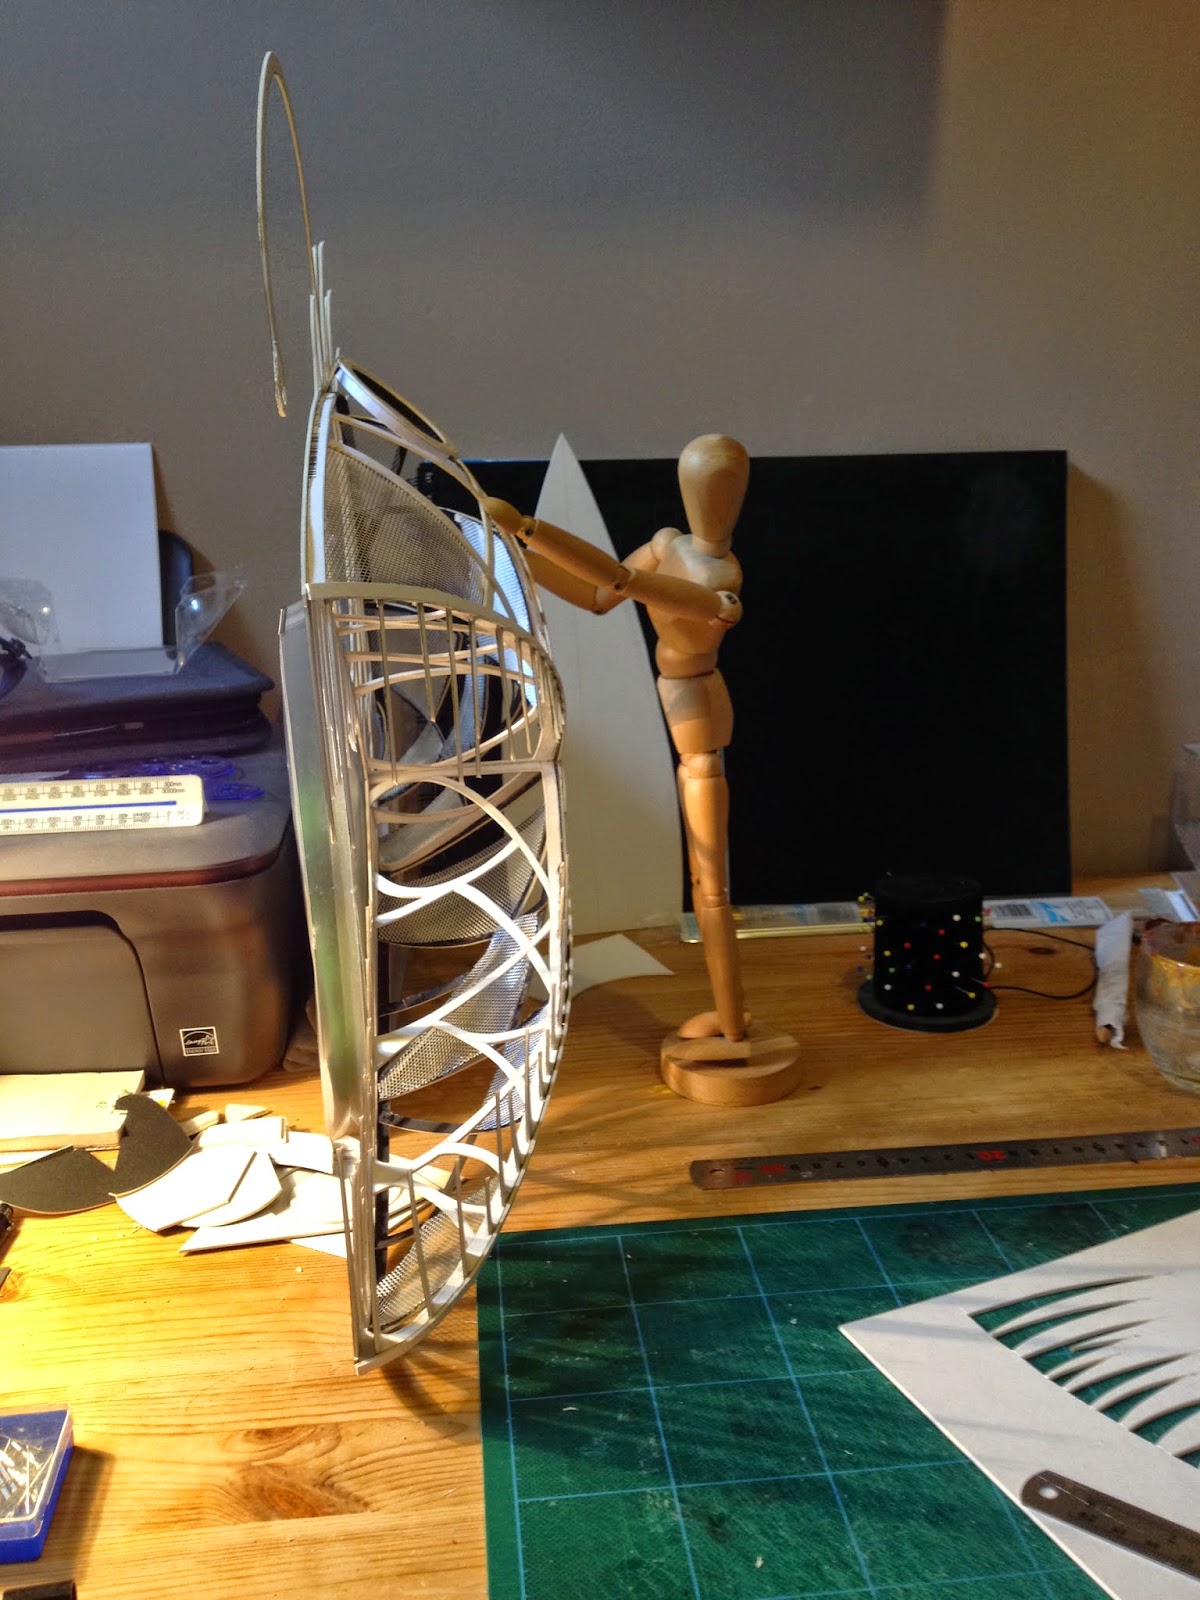
I started with the lower jaw to begin with, as the fish had such a huge mouth that ended at almost the center this helped me judge how wide the shape would be for the rest of the fish's body. As I began to build up the strips and joints that formed the 3D body section I decided to fill in a number of the gaps with wire mesh. This would help block out the shape of the fish, but I was like how the pattern gave the hint of scales on its surface and further helped strike that balance between the biological and the engineered.


As the fish began to take shape I decided a number of pieces around the body would be raised or slightly more detailed, standing out from the rest of the design. A drew up a number of fin designs for the top of the fish as well as raising the eye and making it more prominent, standing out from the rest of the body.


For the teeth on the front row I had to stand it upright in order for them to set in the right position, this required me to prop it up in place for a while...


With the teeth in place and the rest of the mesh sections the anglerfish was finished. I really liked the look of it without any paint but wanted to see what kinds of surface details I could create so sprayed it black and then painted layers of rust up. I also coated it in PVA to make it stronger and more rigid, protecting the shape but also the more fragile sections such as the teeth as the whole pieces was only made of mounting card and wire mesh.


The Fangtooth Fish.


The second fish I constructed was designed and built in the same style as the Anglerfish, as that had proved really successful and I wanted to see what other fish I could create in the same style. I chose a Fangtooth as it had a similar structure to the Angler and would be visually striking.


After drawing up an initial sketch I drew the design for the flat outline that would mount the 3D section on top. Unlike the Anglerfish I made this design more complex and flowing. This was initially due to the more complex shape of the fish and it helped me to map out how the body would flow and where the fin, etc would be placed, as well as how the jaw would fit into the body and how much space it would take up.
However, I also made it more complex as I thought I would keep the cut out pieces to possibly form a second piece like a mosaic.


So as I cut out the blocks from the stencil I assembled them to form a second piece, basically making two pieces of art from one drawing. While this took longer, as I had to cut more precisely than in the past, I still found it a more efficient way of constructing two pieces of art than by creating two pieces separately. It also saved on materials used.

My next step was to construct the piece made from the off cuts as they were all loose and the piece made from the stencil outline could wait. I cut a second piece of card that followed the outline of the card and formed the base to stick the blocks onto, forming a plaque.


I also constructed a fin piece the same as I would for the second piece formed from the stencil. With the blocks assembled the plaque piece was finished. As you can see from the picture below the stencil fitted on top perfectly, as if reassembled.


My next step was to assemble the other Fangtooth piece from the stencil, similar to how I had done the Anglerfish. I began with the jaw piece as it formed the widest part of the fish and took up a prominent sention of the whole fish, again like the Anglerfish had.


After constructing the Fangtooth I considered what colours to paint it in. I didn't want to use the same rusty tones I had used on the Anglerfish so experimented with other metallic surface details and tones.


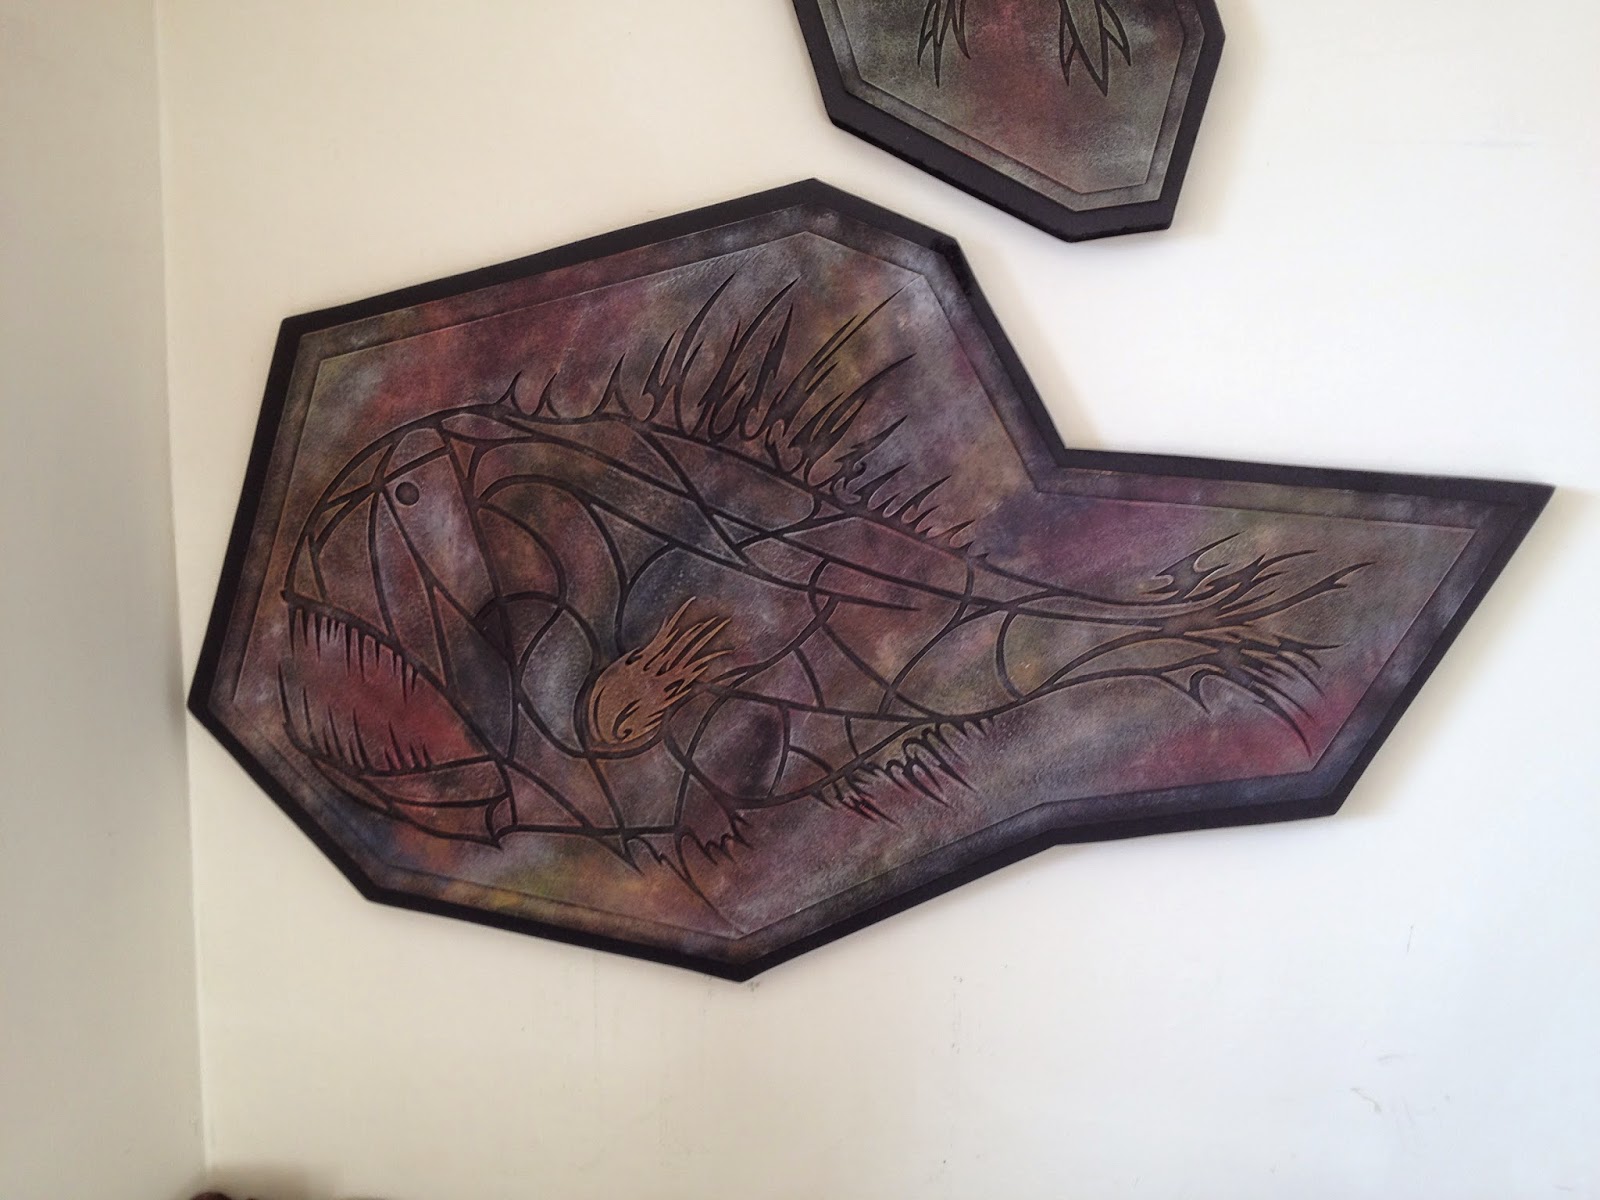
I also painted the Fangtooth plaque. For that I tried a dry brushed style that picked up and highlighted the edges of the blocks, building up layers of different colours and tones.


However, a little while later I thought about improving on the surface detail of the plaque to create a more interesting surface to dry brushed. I coated the piece in a thick layer of wood adhesive that strengthened the surface making it stand up to the harsh brushing later, as well as create a more textured surface as it dried. Below are the effects I was then able to create.


The final step was to mount it onto an MDF frame I cut with a jigsaw, I tried to keep it relatively thin so it would reduce the weight of the overall piece. As the card had been thickly coated in PVA it had warped over time, the wood frame help to straighten out the card once more, as well as form a strong base to mount the piece on the wall with.


I then started boxing up pieces I had made for sale. This style I had developed off the back of the stencil pieces I had first developed would form the rest of my art so far, however I kept the stencils left over from the plaque pieces to develop into 3D pieces eventually as I had done for the Fangtooth and the Anglerfish. My next blog will focus on the other plaque pieces I developed from stencils, similar to the fish above.